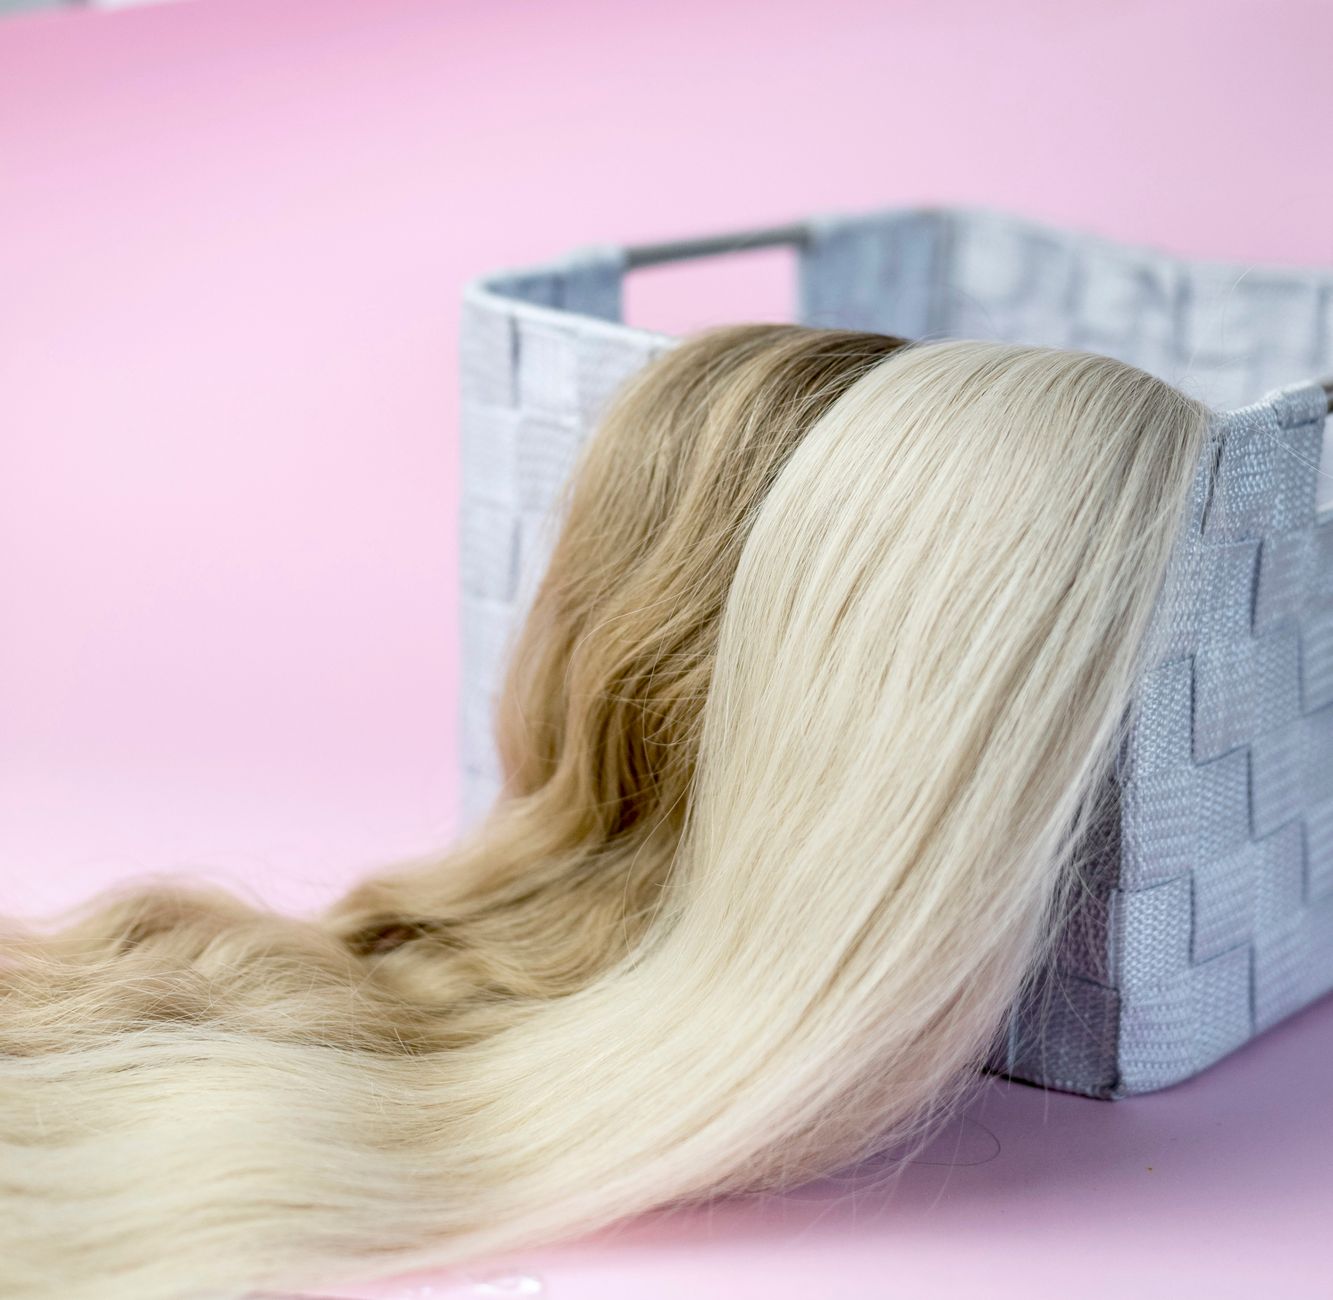
Knowing how to safely and easily remove hair extensions is just as important as knowing how to put them in. Pull out the wrong kind too fast, skip the right product, or rush the process, and you risk snapping your natural strands, inflaming your scalp, or losing chunks of hair that took months to grow. The good news is that with the right tools and a little patience, most extension types can come out at home without drama.
Why removal technique matters more than you think
Hair extensions place mechanical stress on the natural hair they attach to. Over weeks of wear, the attachment point becomes a spot where tangling and dryness concentrate. When removal is done carelessly, that stress turns into breakage. A slow, methodical approach protects the hair shaft and keeps your scalp from paying the price later. If you have any doubt about the condition of your hair at the bonds or wefts, a professional consultation is worth it. The real benefits of hair extension salons extend to safe, expert removal as much as they do to application.
What you will need before you start
- A bond remover or adhesive-dissolving oil (type depends on your extension method)
- A fine-tooth rat-tail comb and a wide-tooth detangling comb
- Pliers or loop removal tools (for micro-ring or cold-fusion extensions)
- Hair clips to section as you work
- A gentle, sulfate-free shampoo and a deep conditioner for after
- Plenty of time: plan for at least 90 minutes for a full head
Removing each extension type safely
Clip-in extensions
Clip-ins are the easiest to remove. Open each clip with your fingertips by pressing the two sides together, then slide the weft down and away from the root. Work from the bottom layer upward, section by section. Never yank a clip that feels stuck. If the weft has tangled into your natural hair, use a wide-tooth comb to gently loosen the knot before opening the clip. Once all clips are out, run a detangling comb through your hair from tips to roots, not the reverse.
Tape-in extensions
Tape-in bonds respond well to oil-based bond removers or dedicated tape-in remover sprays. Apply the product directly to the bond line and wait the time specified on the packaging, usually two to four minutes. Then pinch the bond between your thumb and index finger and slide the tape away from your natural hair in one firm, downward motion. Do not peel sideways. Any residue left on your hair after removal can be softened with another application of remover and worked out with a fine-tooth comb.
Micro-ring and nano-ring extensions
These rely on small metal rings crimped around a section of natural hair. To remove them, position the flat side of the opening pliers over the ring, squeeze gently until the ring opens back to its original circular shape, then slide the extension strand down and out. The key word is gently. Over-squeezing distorts the ring and makes it harder to open cleanly. Work in small sections, and clip each completed area away so you do not lose track of where you are.
Keratin (fusion) bond extensions
Keratin bonds are the most stubborn to remove and the riskiest to DIY. A keratin bond remover solution or acetone-based product is applied to each bond to soften the keratin glue. After a minute or two, the bond should feel pliable enough to crumble when you roll it between your fingers. Use a pair of extension pliers to crush the bond gently, then slide the extension strand out. Never use heat to melt bonds at home. The temperatures required are difficult to control and can cause serious heat damage very close to the root.
Sew-in weaves and wefts
Sew-in weaves involve thread stitched through a braid foundation. Use a pair of small scissors or a seam ripper to cut the thread carefully, working along the weft rather than toward the scalp. Cut one section at a time, remove the weft, then move to the next. Once all wefts are out, gently unbraid the cornrows underneath. Expect significant tangling after weeks of being braided. Detangle in sections with a wide-tooth comb and a leave-in conditioner before attempting a full brush-through.
Caring for your natural hair after removal
Once your extensions are out, your natural hair deserves some attention. Shampoo twice to remove any product buildup, then follow with a deep conditioning mask left on for at least 20 minutes. Detangle while the conditioner is still in, working from ends to roots. For the next week or two, avoid heat styling as much as possible and lean on protective styles that do not create tension at the hairline or nape. If you notice unusual shedding, scalp tenderness, or thinning at the bond sites, see a trichologist or a stylist who specialises in extension hair health.
Taking extensions out properly sets the foundation for your next install. Whether you plan to go back in with a fresh set or give your hair a rest, the condition you leave your natural hair in is the baseline everything builds from. For those who prefer to leave removal entirely in professional hands, a salon visit is a smart investment. Stylists trained in extensions know how to spot early signs of tension damage and can treat the scalp and hair on the same appointment, which is one more reason going to a hair extension salon often saves money in the long run by preventing costly repair work later.